Blending Photos into the Background Paper Tutorial
*To follow this tutorial one should have a working knowledge of Adobe Photoshop CS5. I am not sure how this translates into other programs or versions of programs.
This is my LO that this tutorial is based on:
For me the blend is the last thing that I do on a page. Once my element placement, journaling and title work are done I can decide whether or not a blend will go well on the page or not. No matter when you add the blend to your page, the entire process is fairly simple. So, lets get started!
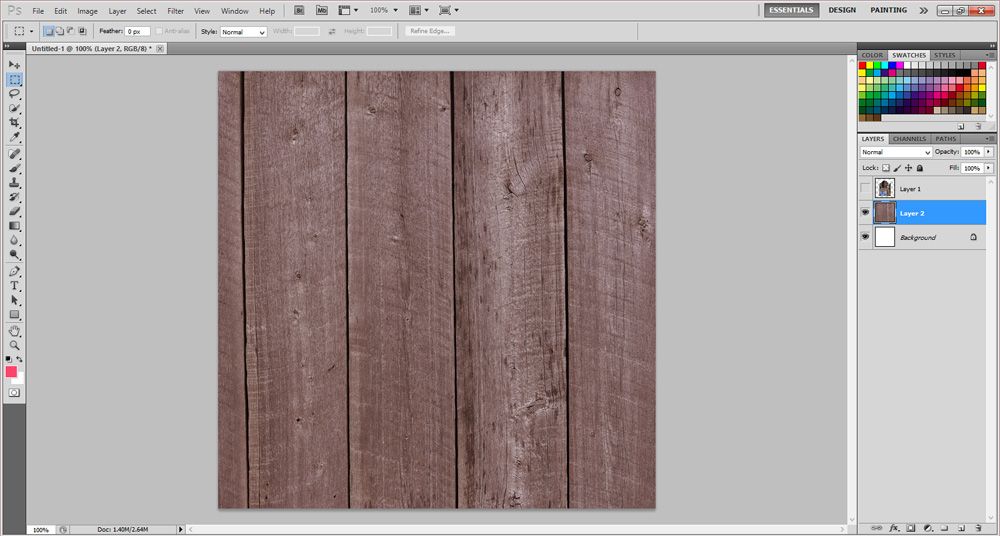
1. Open the paper of your choice. I am using the wood grain paper from Country Kitchen by Snips and Snails Designs this specific paper is found in the Country Kitchen Add-On.
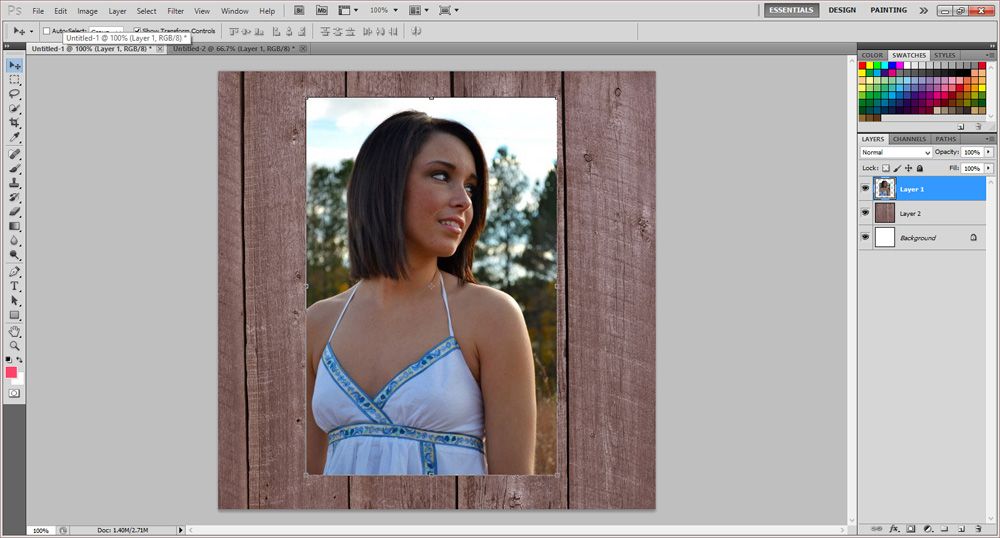
2. Pick a photo, preferably a good quality, large and one that is not too much of a close up. Place it right on top of your paper layer and edit the photo to your liking.
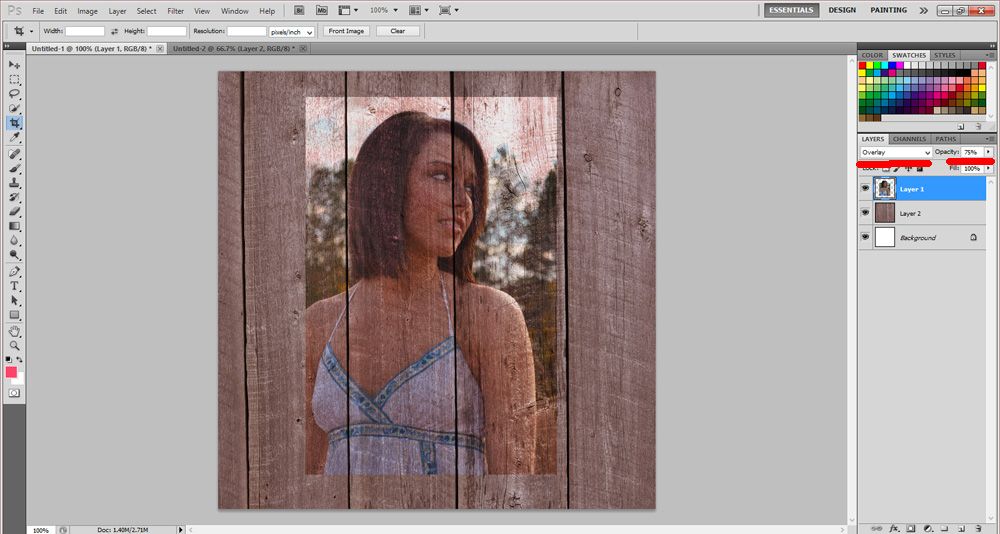
3. Change the blend mode of the photo. I am using Overlay for this tutorial but I have used Soft Light and Hard Light before depending on the effect that I am going for. Also, play with your opacity. Pick a setting that you like but don't make it too light. I usually use 75%. As you can see, this adds a very nice worn look to the paper and the photo. It blends it so nicely with the paper.
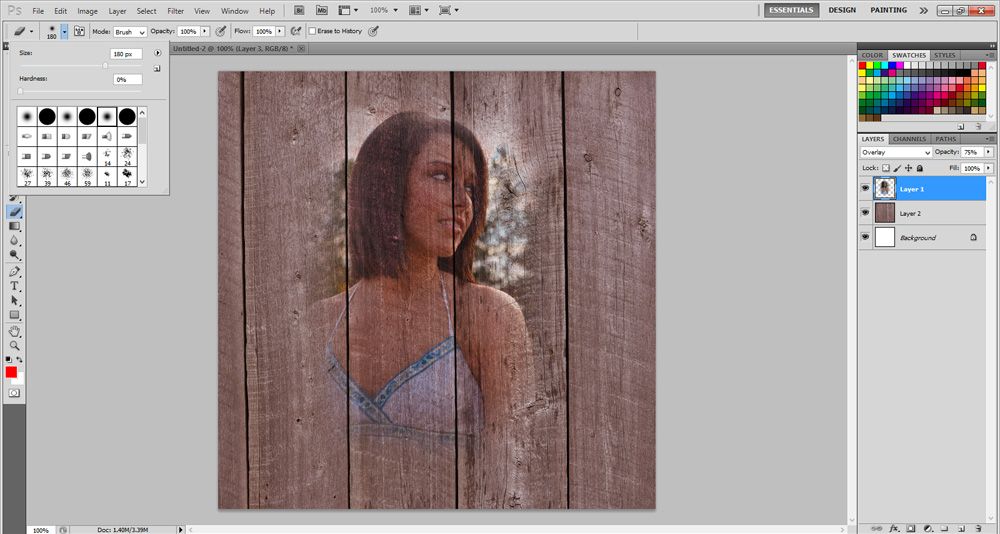
4. After this I take a low opacity brush and use it to take away all the hard edges from the photo. & Viola!
This is so easy and can add a really great touch to your layout!! I hope you learned something new and this was clear for you!
Emmy :)


WOW I cannot believe how easy you made that look! I am new to digital scrapbooking and when I see someones layout with this type of blending I always assumed it took a lot of work to make it look so good. Thanks so much for your tutorial. I cannot wait to try this!
ReplyDeleteCarolyn